Re-roofing & Renovations
Prime Roof Solutions can organise a Roofing Specialist to contact you and discuss your
re-roofing needs.
Why Re-roof?
Given that your roof is the largest surface area of your home and the first line of defence against the elements, roof replacement can be the single greatest improvement to your home’s performance, energy efficiency and of course, appearance.
Functional reasons to re-roof:
- If your roof is leaking this could damage above and inside your living space.
- It provides a chance to replace broken or cracked tiles and pointing.
- Eliminates the hassle of trying to match old tiles to something new if adding an extension to your home.
- It creates the perfect opportunity to improve the insulation and ventilation of your roof space.
Aesthetic reasons to re-roof:
- It provides an opportunity to update the look of your home as part of a makeover. About 30% of your home’s
façade is made up of the roof so it has a major bearing on the overall look of your home.
- A re-roof can add value to your home.
Checking Your Roof
Prime Roof Solutions always recommends that you use a qualified roofing specialist to check your roof.
The following should be carried out:
- Check for cracked tiles, displacement of tiles or debris build-up.
- Check old cement mortar bedding.
- Check flashings, gutters and downpipes.
- Check whether or not sarking is installed.
- Check the need to re-insulate the ceiling.
- Check for sufficient ventilation to remove hot or damp air.
9 Step Re-Roofing Process
Re-roofing can take 5 to 7 days to complete depending on the size of the roof. There are 9 steps to the re-roofing process:
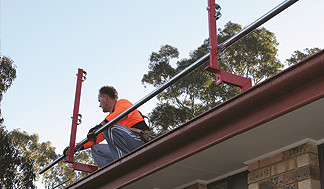
1. Install Safety Rail if required
Safety is a priority. Guardrail is installed around the perimeter of the roof to prevent roof tilers from falling and to keep you safe.
2. Removal of old tiles and battens
All the old tiles, ridges and battens are removed. Care is taken over existing ceilings and fixtures.

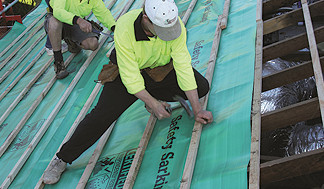
3. Installation of Sarking*
Sarking provides insulation and reflects up to 90% of radiant heat entering the roof.
* Optional but recommended.
4. Installation of new battens
New battens are installed ready for the new roof to be laid.
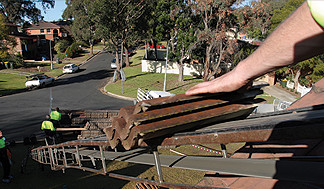
5. Load up new tiles
The new roof tiles are sent up to the roof using a conveyor system.
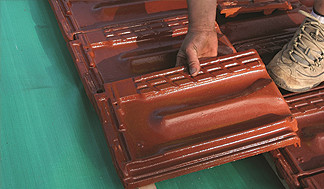
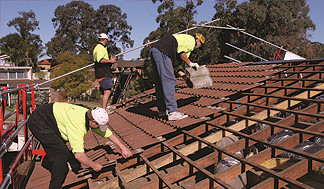
6. Laying of tiles commences
Tiles are laid sequentially up the roof from the gutter line and fixing clips or nails are used to secure the roof tiles to the battens.
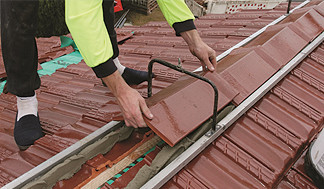
7. Ridge tiles installed
Ridge tiles are installed and bedded in place using mortar.

8. Pointing
Pointing is a flexible material that covers the mortar and comes in a colour that matches the roof tile. It acts as a mechanical fastener, keeping the ridge in place.

9. Finish
Guardrail is removed and the site is tidied and any leftover roof tiles are removed.
Like the look of an existing roof?
Chances are that Prime Roof Solutions has a tile that will match an existing tile. Our concrete tile renovation range includes: